Behind the Scenes: How We Make Custom Engraved Products
A look inside the Iron Cypress Customs workshop — from design and proofing to laser engraving, assembly, and quality checking each piece before it ships.

From Design to Your Doorstep
People often ask how we make our engraved products. The short answer is a laser, some wood, and a lot of attention to detail. Here's a closer look at the actual process from start to finish.
Step 1: Design and Proofing
Every order starts with a design file. If you send us artwork, we clean it up and position it for the item. If you just have an idea, we build the design from scratch. We send a digital proof for approval before we cut anything. No surprises.
Step 2: Material Selection
We pick the material based on the item and the design. Walnut for rich contrast. Maple for a clean, light look. Cherry for something that will darken beautifully over time. Leather gets inspected for grain and thickness. Every piece is hand-selected.
Step 3: Laser Engraving
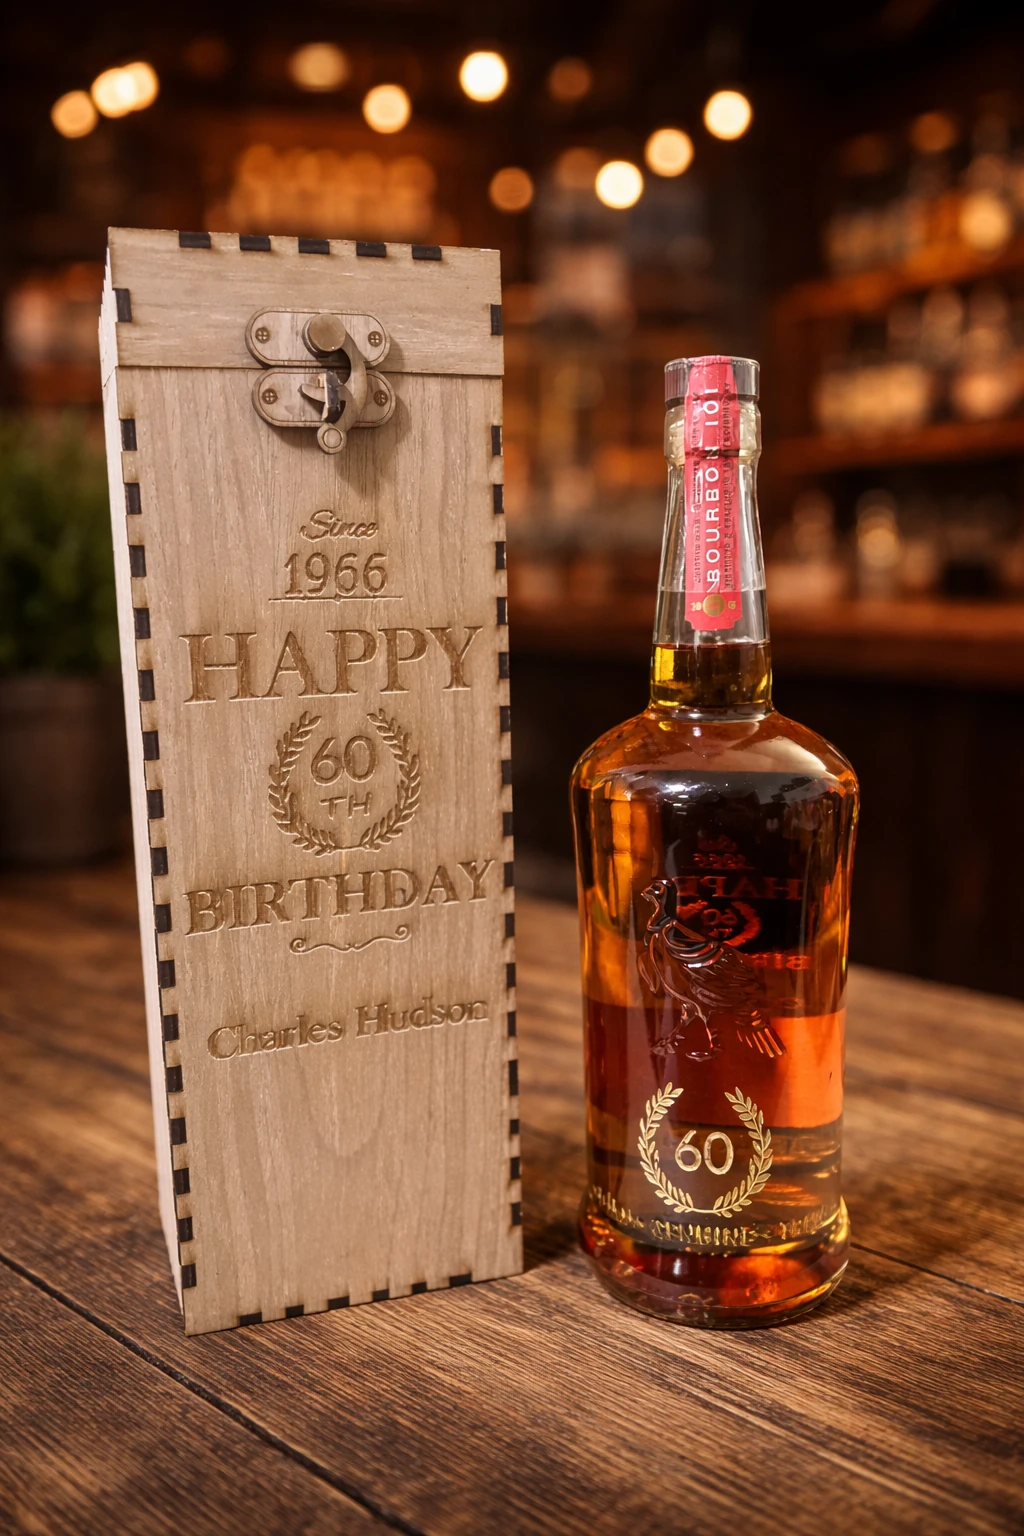
The laser follows the design line by line, burning away the surface to create the engraving. Speed and power are adjusted for each material. Wood gets a different setting than leather, which gets a different setting than acrylic. We test on scrap first to dial it in.
Step 4: Assembly and Finishing
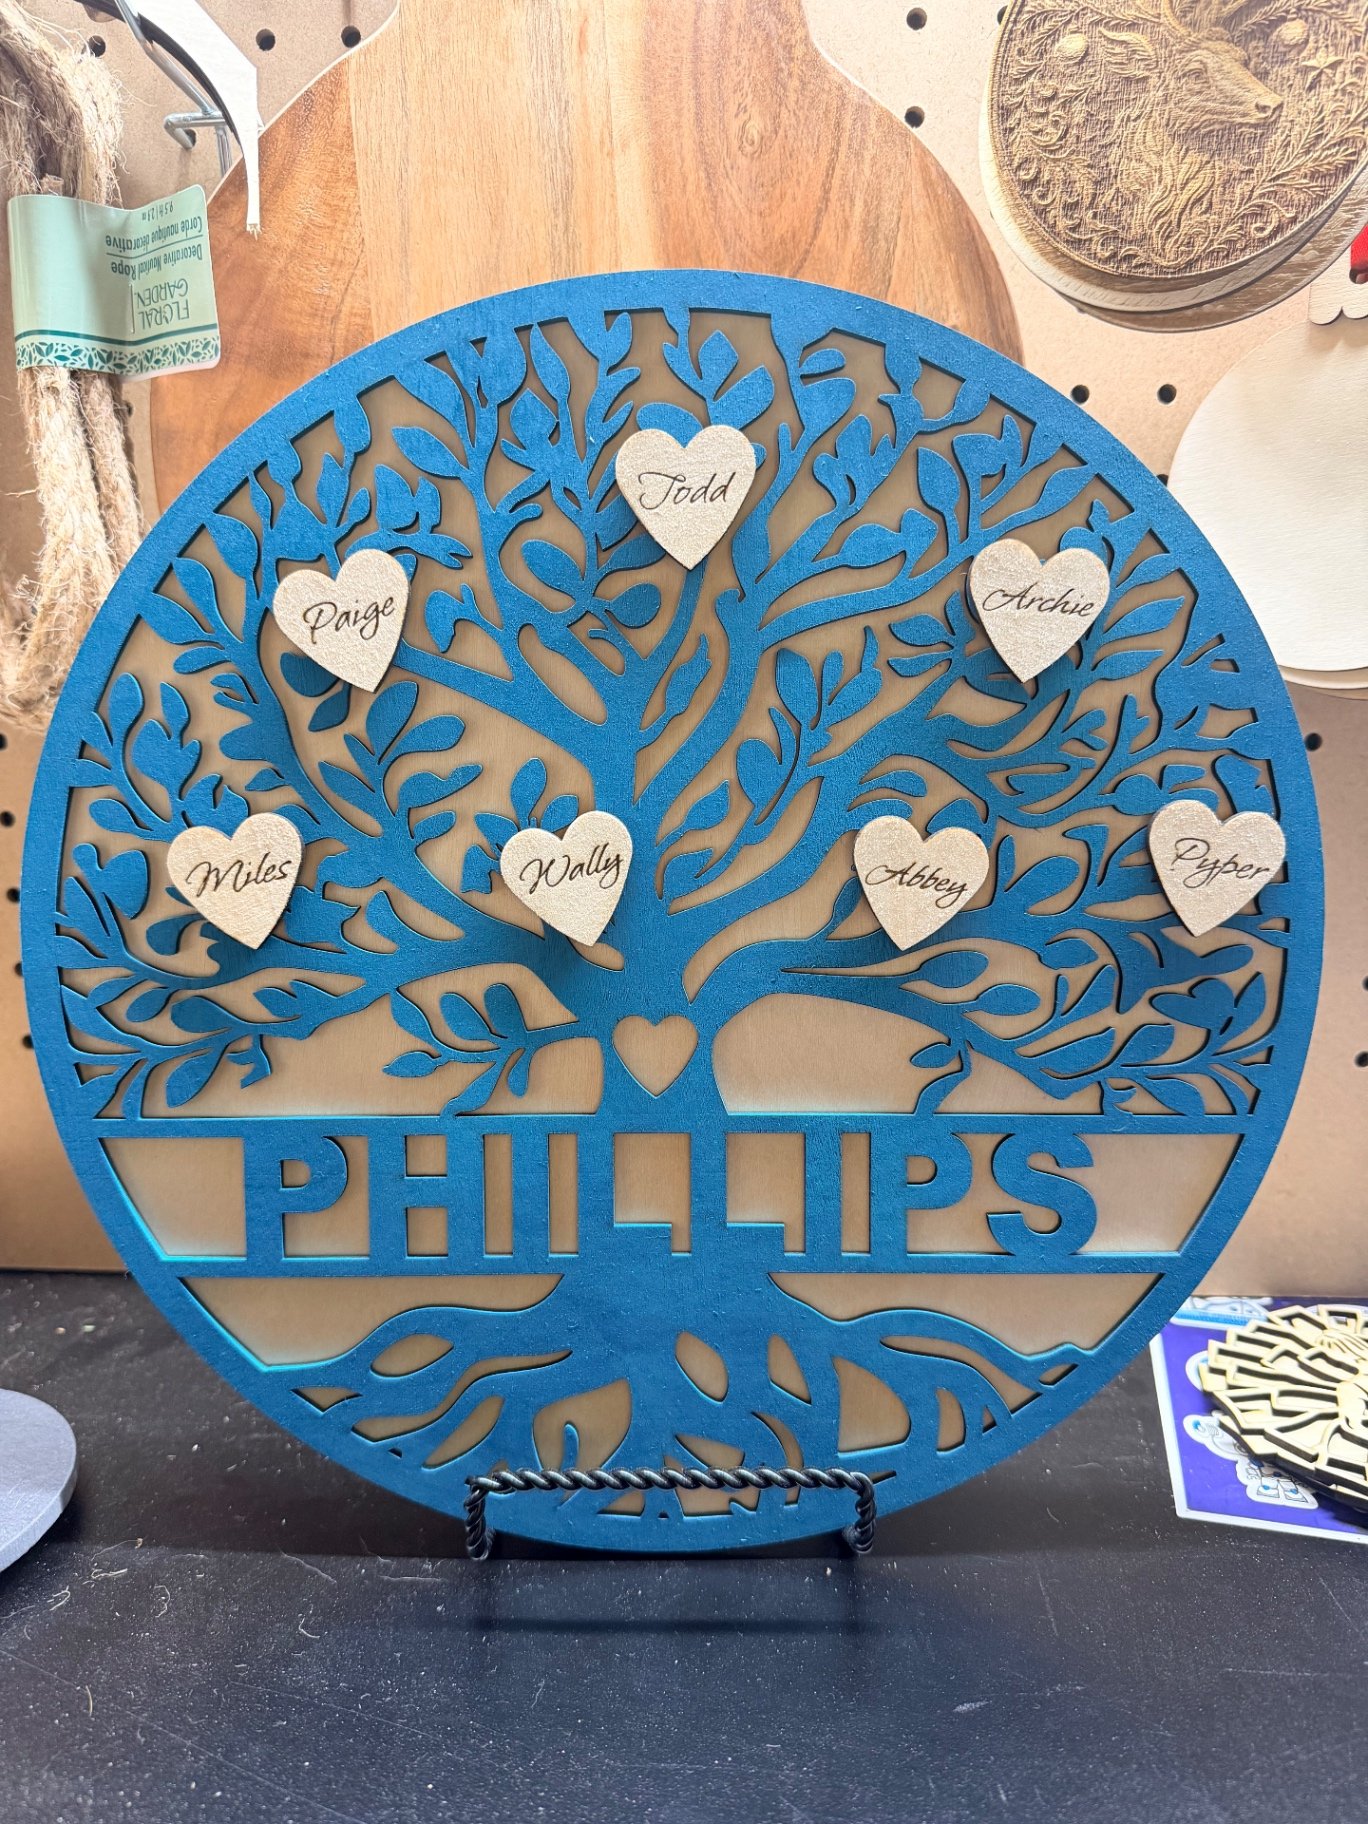
Multi-layer pieces get hand-assembled and glued. Edges get sanded. Wood pieces get oiled or sealed. We inspect every piece for burn marks, alignment issues, and clean edges before it moves to packaging.
Step 5: Packaging and Shipping
Each item is wrapped and packed to survive shipping. Cutting boards get kraft paper and bubble wrap. Ornaments get individual pouches. Gift boxes get foam inserts. We want it to arrive looking like it did when it left the shop.
The Tools We Use
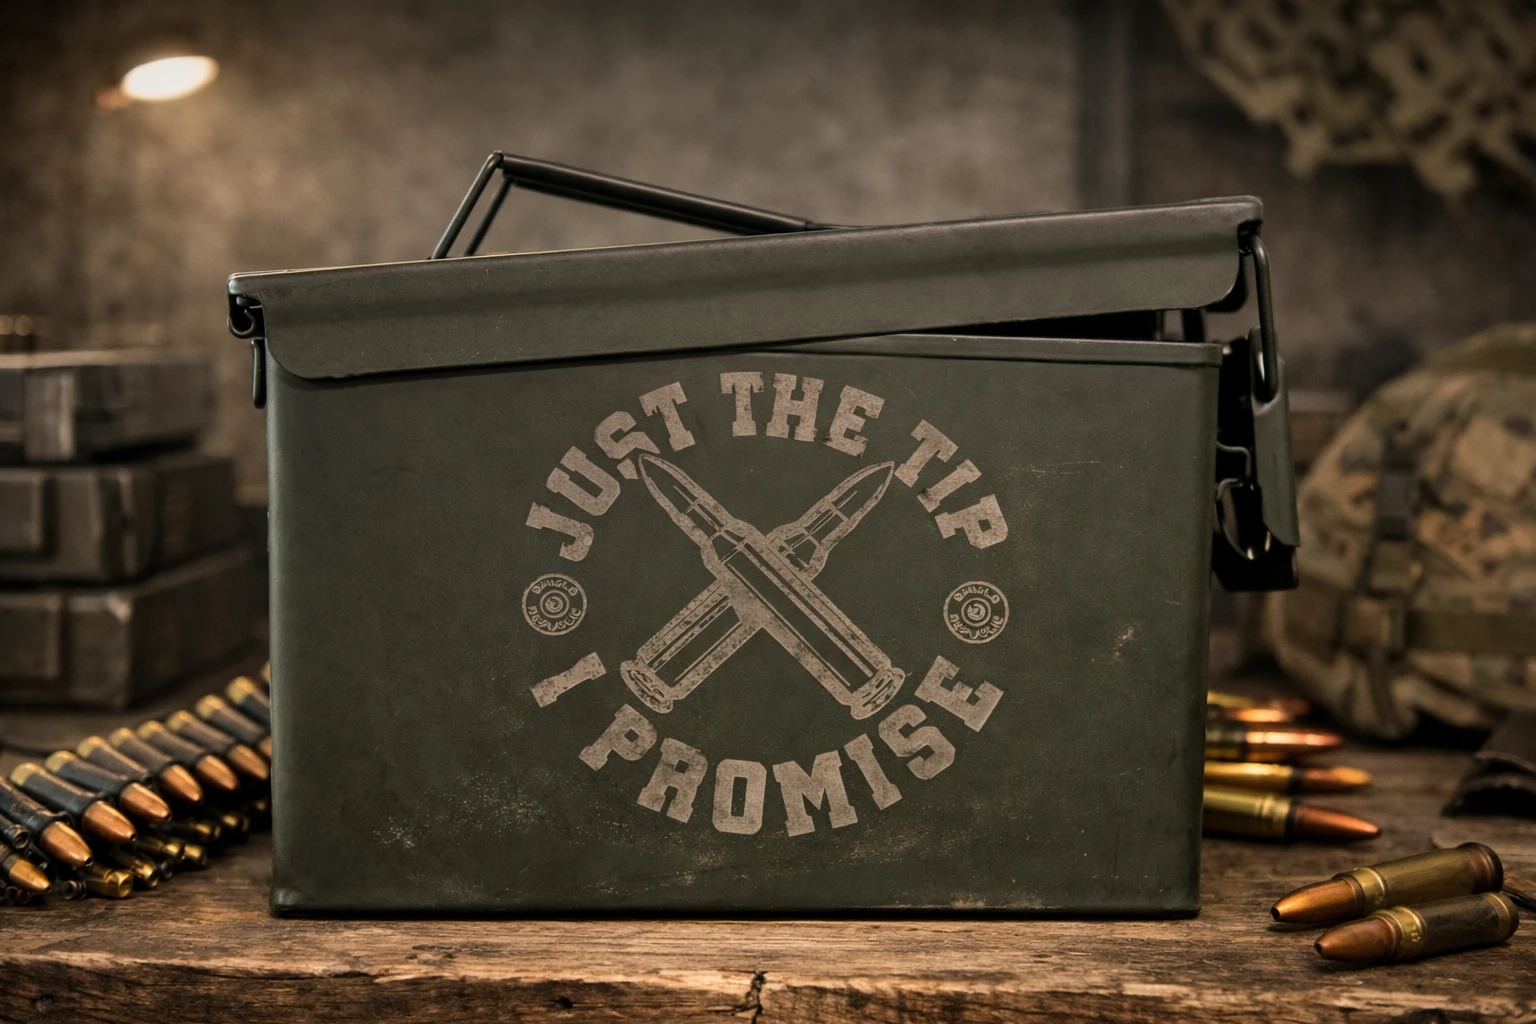
We run CO2 lasers for wood, leather, and acrylic, and a fiber laser for metal engraving. Our 3D printers handle PLA, PETG, TPU, and resin. Everything is made in-house.